Key Considerations in the Plastic Injection Mold Polishing Process
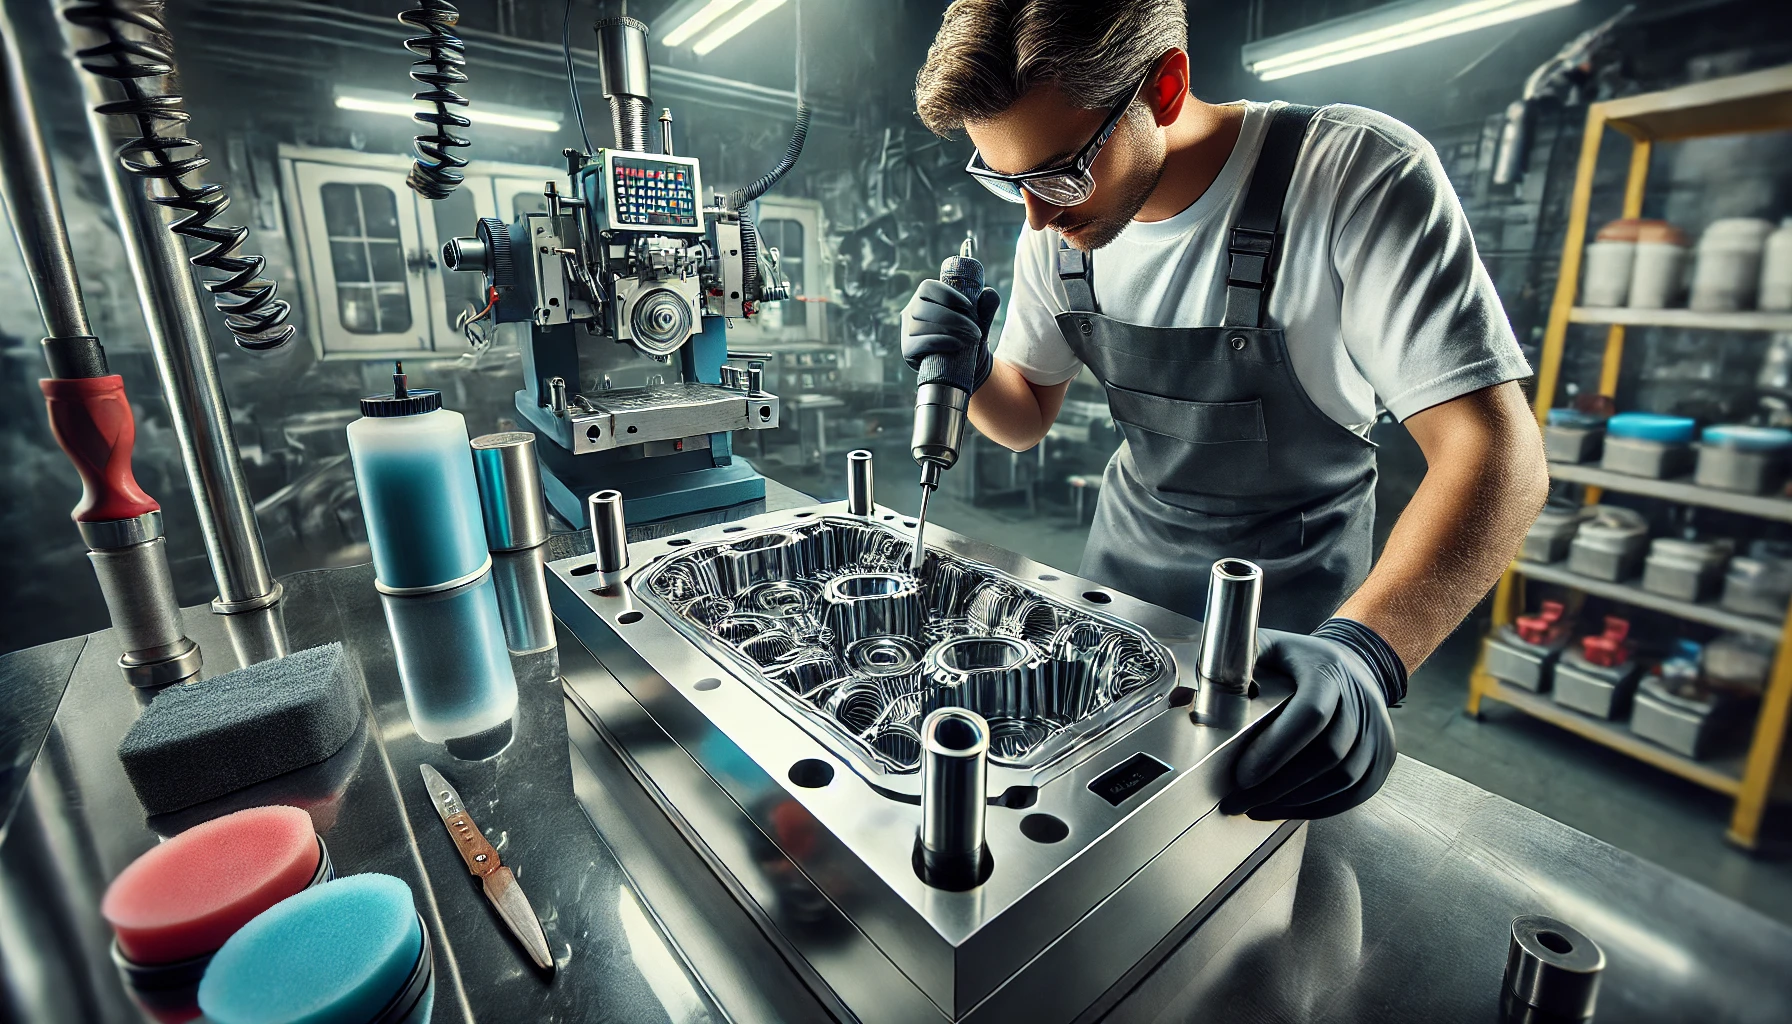
There are many points to note in the mold injection polishing process to ensure that the mold surface meets the standards. This is an important step in the entire plastic mold production cycle. This article brings you the points to note when grinding and polishing with different materials. Don't let these problems affect the quality of your mold, discover them with us now!

1. Materials Used in Plastic Injection Mold Polishing and Recommended Grit Levels
The plastic injection mold polishing process includes different stages (rough grinding, fine grinding, polishing), and each stage requires different materials, as well as specialized mold polishing tools. However, some materials are widely used.
-
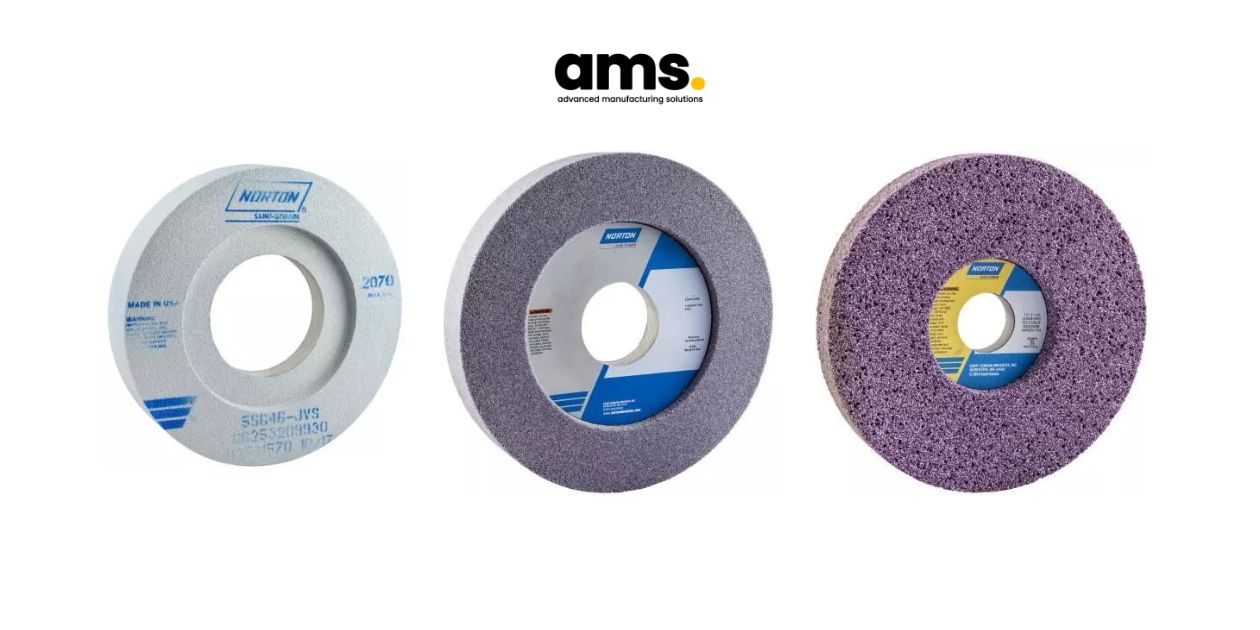
Mold Polishing Tools: Diamond files; various grinding stones such as bar grinding stones, oil stones (#120, #220, #400, #600, etc.); polishing heads made of felt and wood (in round wheel form, square rods, round heads); mold polishing brushes, mold polishing wood; sandpaper (#150, #180, #320, #400, #600, #800, #1000, #1200, #1500).
-
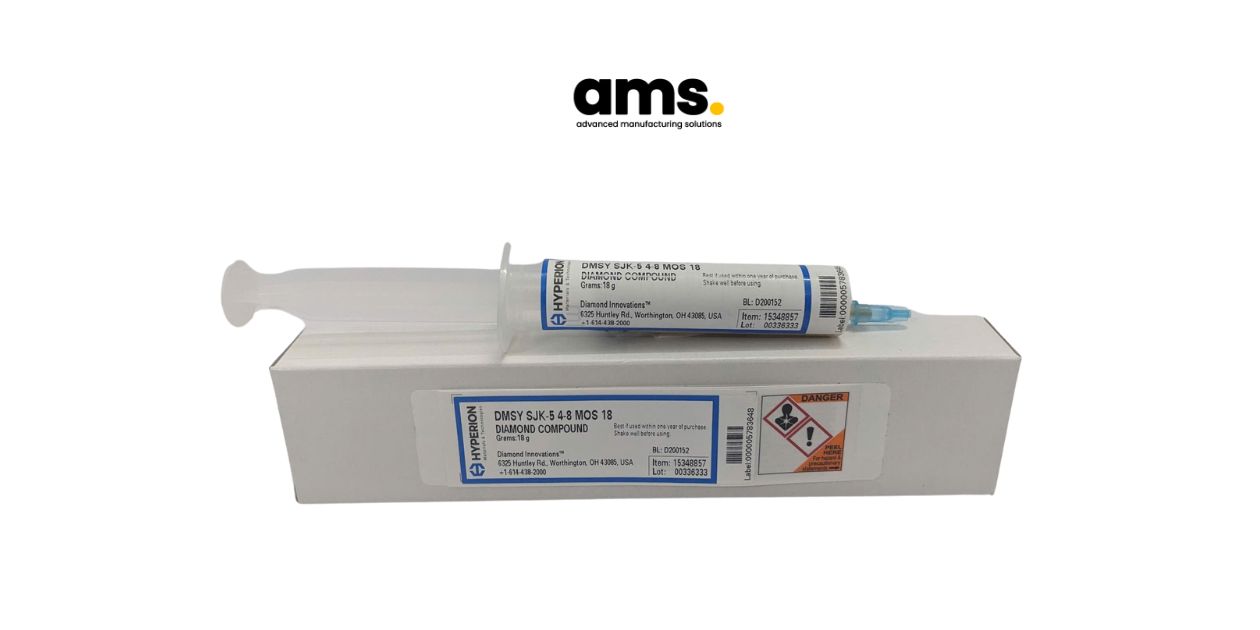
Polishing Materials: Diamond powder (1μm, 3μm, 9μm, 15μm); mold polishing paste; polishing support solutions.
-
Polishing Equipment: Handheld vibrating polishers, sanders, etc.

>> See more: The Essential Guide to Mould Polishing Tools: What you need to know
2. Key Considerations When Polishing Injection Molds with Sandpaper and Oil Stones
-
Use bamboo or rattan sticks for round or spherical surfaces as they are flexible polishing tools. Flat surfaces are better suited for hard polishing sticks like wood.
-
Inappropriate polishing tools for mold surfaces can cause deformation and deep scratches due to the tool's impact. For example, using a sharp-edged tool on a concave spherical surface can create deep scratches. Therefore, the polishing tool must have a shape that is compatible with and matches the mold surface.
-
To differentiate the polishing marks from the previous grinding stage, change the polishing direction by 45 to 90 degrees after switching to a different grit or type of sandpaper.
-
The polished surface should be thoroughly cleaned with a cleaning solution, such as 100% cotton cloth soaked in alcohol, before switching to a different type of sandpaper. Any remaining grit or dust on the mold surface can ruin the entire plastic mold polishing process.
-
When transitioning from sandpaper polishing to diamond polishing, ensure proper cleaning. All grit and kerosene must be completely removed before proceeding with polishing.
-
Extra care should be taken when using #1200 and #1500 sandpaper to avoid scratching the mold surface. It is recommended to apply light pressure and use a two-step polishing method. Polishing should be done twice in different directions, changing the polishing direction by 45 to 90 degrees each time a different sandpaper is used.
Polishing plastic molds with sandpaper and oil stones does not require advanced or complex techniques. The key is for the operator to be meticulous and careful in each step of the process.
3. Notes when grinding and polishing diamonds
Diamond polishing refers to the use of diamond powder for the final step in the plastic mold polishing process.
-
Use fine grinding powder and polishing with the lightest pressure possible. This is especially important when polishing hardened steel parts.
-
When using #80000 diamond paste for polishing, maintaining precision is challenging since the usual load ranges from 100 to 200 g/cm². It’s recommended to use small, delicate hand-held polishing tools to ensure the grinding pressure isn’t too high, making it easier to control.
-
Polishing technicians should carefully clean their hands. Even if the mold surface has been cleaned, dust or grit on the technician's hands can fall during the diamond polishing process and ruin the mold surface.
-
The polished surface may exhibit “orange peel” or pitting due to prolonged polishing. The shorter the time, the better the result.
-
Finally, after completing the plastic mold polishing process, ensure the mold surface is clean and free of abrasives and lubricants. For added protection, applying a rust-proof coating to the surface is recommended.

4. Pay attention to the following points when polishing plastic injection molds
-
Compared with other industries, polishing plastic molds has significant differences. Polishing plastic molds requires a mirror-like surface finish. It requires high standards of flatness, smoothness and geometric accuracy.
-
The mirror polishing standard is divided into four levels:
- A0=Ra0.008μm
- A1=Ra0.016μm
- A2=Ra0.032μm
- A3=Ra0.063μm
-
There are two types of methods that are difficult to control the geometric accuracy: electrolytic polishing and liquid flow polishing. Methods such as chemical polishing, ultrasonic polishing and magnetic polishing do not meet the requirements of surface quality. Therefore, mechanical polishing is the method applied to mirror polishing.
5. Some Common Issues in Plastic Injection Mold Polishing and Suggested Solutions
5.1. Over-polishing the Mold
Over-polishing is the most common issue during the plastic mold polishing process, caused by excessive polishing time or force. This can lead to the mold surface becoming rough and pitted, reducing surface quality.
The "orange peel" effect is caused by the mold surface overheating, which results from over-polishing. Generally, harder steels can withstand higher polishing pressures, while softer steels are more susceptible to over-polishing.
Suggested solution for "orange peel" on the mold surface:
-
Clean the defective surface by using a larger grit size than before. Then, regrind with light and even pressure.
-
Lower the tempering temperature by 25°C below the steel hardening temperature, then regrind with the finest grit until the desired result is achieved. Finally, polish with a lighter touch.
5.2. Surface Pitting
Surface pitting can unintentionally occur due to imprecise polishing actions. However, this issue can still be resolved by:
-
Carefully regrinding the surface. Similar to treating "orange peel," use a larger grit size than before and apply a soft, sharp oil stone for the final grinding step during mold polishing.
-
Avoid using soft polishing tools when the grit size is smaller than 1 mm.
-
Use minimal polishing pressure and finish the polishing process as quickly as possible.
5.3. Surface Scratches
Surface scratches may result from polishing with inappropriate grit sizes. Nowadays, the market offers low-quality and cheap polishing powders that contain impurities, and even an unclean polishing environment can contribute to scratches.
To fix this issue, you can follow these steps:
-
Purchase high-quality diamond powder from reputable brands with clear origins. AMS provides advanced technical solutions for manufacturers, particularly in distributing materials for mold makers in various industries. The brands (Kemet, Hyperion,...) that AMS distributes are reputable, with clear origins and very cost-effective. AMS is an excellent choice for supplying all necessary materials for plastic mold and tool polishing.
-
Remove small scratches by using finer abrasives. The grit size can be reduced to 1μm or 0.5μm.
-
Ensure that polishing is done in a cleanroom environment.
>> See more: Explore the standard mold polishing process
6. Conclusion
Plastic injection mold polishing requires a high level of precision and is very important. AMS hopes that this article will provide you with useful information about things to note during the plastic mold polishing process and measures to fix the mold surface. Follow us to update the latest products and news in the polishing industry, contact AMS for free consultation on polishing needs today!
AMS Company, Ltd.243/9/10D To Hien Thanh, Ward 13, District 10
Hot line: 028.3868 3738/3903 - Fax: 028.3868 3797
