5 Common Mistakes with Diamond Compound and How to Fix Them
Polishing plays a crucial role in the manufacturing industry, especially when it comes to moulds and dies. It is a process that helps enhance the surface finish and precision of these tools, ensuring optimal performance and longevity. One of the key factors in achieving exceptional polishing results is the use of diamond compounds. These compounds, consisting of small diamond particles suspended in a carrier, offer superior abrasive properties that can effectively remove imperfections and produce a high-quality finish. Here are 5 common mistakes encountered while using diamond compounds for polishing moulds and dies with valuable insights on how to rectify them. By avoiding these mistakes, you can achieve exceptional results and ensure the longevity of your moulds and dies.
1. Common mistakes when polishing moulds and dies with diamond compounds
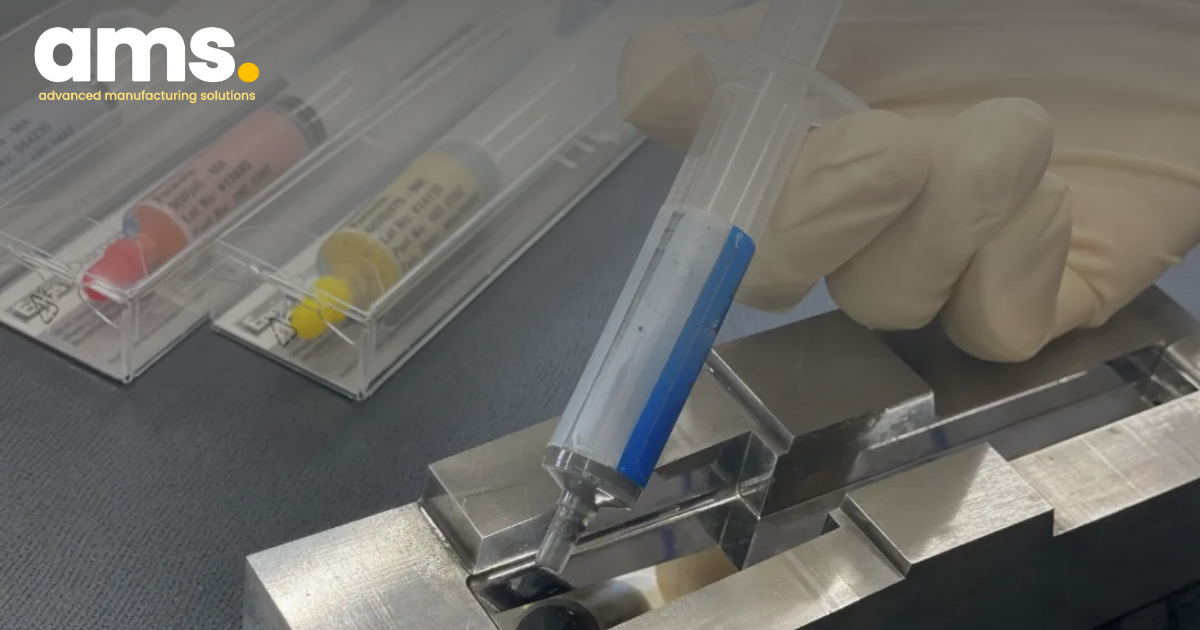
1.1 Applying an insufficient amount of diamond compound
Applying an insufficient amount of diamond compound can significantly impact the effectiveness of the polishing process. The compound acts as an abrasive agent that removes imperfections and smoothens the surface of the moulds and dies. When insufficient compound is applied, it can lead to uneven polishing, leaving behind scratches, marks, or an incomplete finish. To ensure proper compound coverage, follow these tips:
- Start with a clean surface to allow the compound to adhere evenly.
- Use an appropriate applicator that provides sufficient compound coverage.
- Apply the compound in small increments, gradually increasing as needed.
- Spread the compound evenly across the entire surface.
- Adjust the quantity based on the size and condition of the moulds and dies.
1.2 Using the wrong grit size for the task
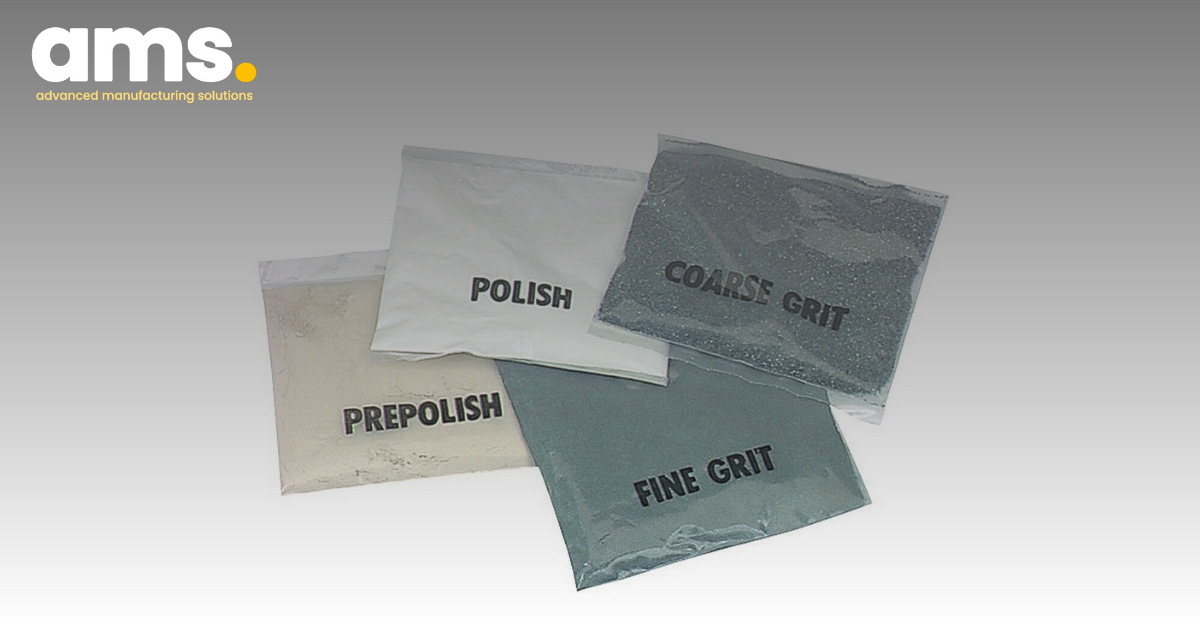
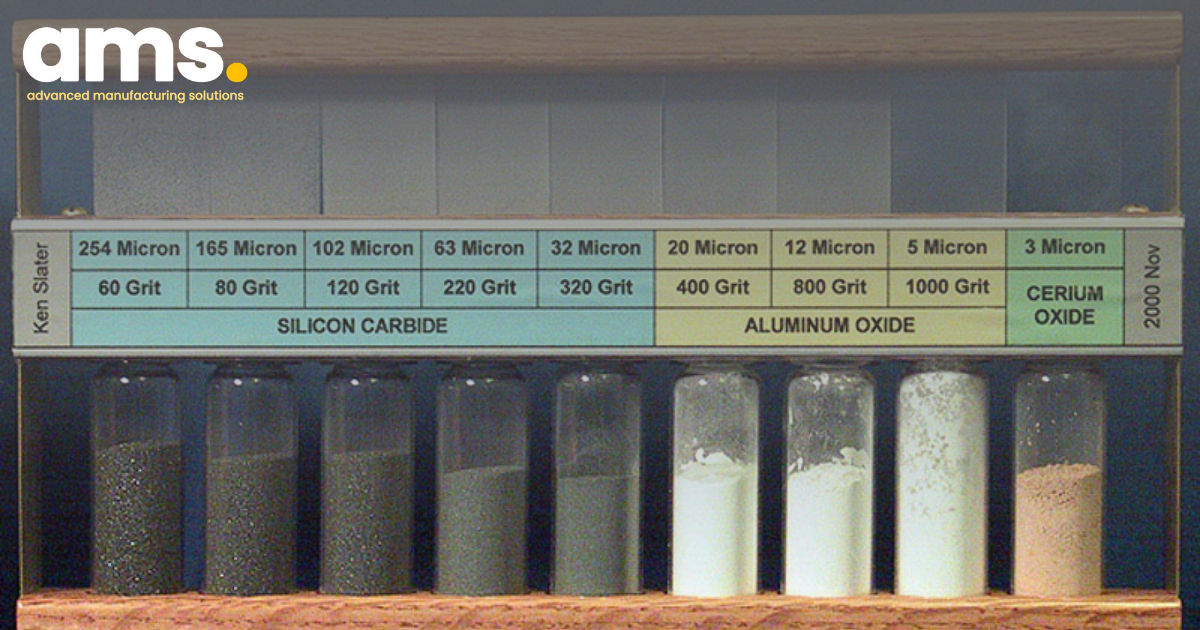
Using the wrong grit size during the polishing process can significantly impact the outcome and efficiency of polishing moulds and dies. The grit size refers to the coarseness or fineness of the diamond particles in the compound. It determines the level of abrasiveness and the amount of material that will be removed during polishing:
- Coarse grits (lower numbers) are more abrasive and are suitable for removing deep scratches, imperfections, or rough surfaces. These grits are typically used during the initial polishing stages.
- Finer grits (higher numbers) are less abrasive and are ideal for achieving a smoother, glossy finish. They are commonly used in the final polishing stages.
Guidance for choosing the appropriate grit size:
- Initial polishing stages: Start with a coarser grit size, such as 80 or 120, to effectively remove any prominent imperfections or scratches from the moulds and dies. This will help smoothen the surface and prepare it for further polishing.
- Intermediate polishing stages: Use a medium grit size, such as 200 or 400, to continue refining the surface and further reduce any visible scratches or roughness.
- Final polishing stages: Use a finer grit size, such as 800 or 1200, to achieve a smooth, glossy finish on the moulds and dies. This step will help remove any remaining fine scratches and impart a polished appearance.
It's important to note that the specific grit sizes to use may vary depending on the condition, hardness, and material of the moulds and dies. It's recommended to start with a slightly coarser grit size and gradually progress to finer grits until the desired level of polish is achieved.
1.3 Applying too much pressure during polishing
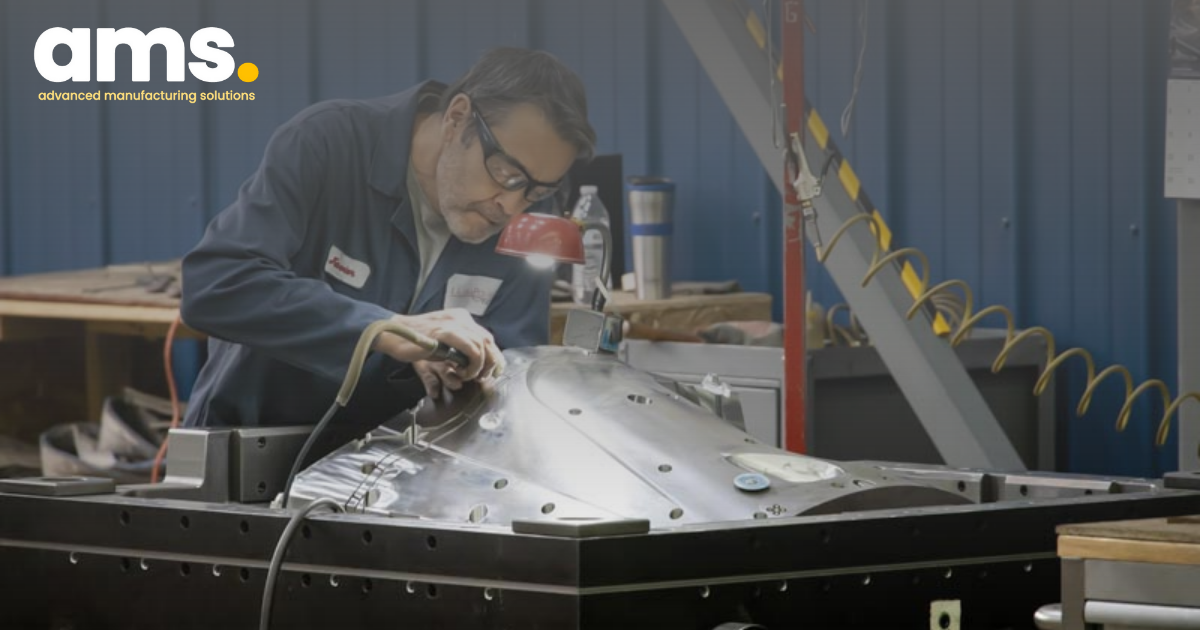
Applying excessive pressure during polishing can result in uneven polishing, increased material removal, and heat generation. To maintain the right pressure for optimal results:
- Start with a light touch and gradually increase pressure if needed.
- Use the weight of the tool rather than applying excessive force.
- Assess feedback, such as heat or resistance, to adjust pressure.
- Experiment to find the appropriate pressure for the specific surface.
- Practice consistent pressure throughout the polishing process.
1.4 Neglecting proper cleaning and maintenance
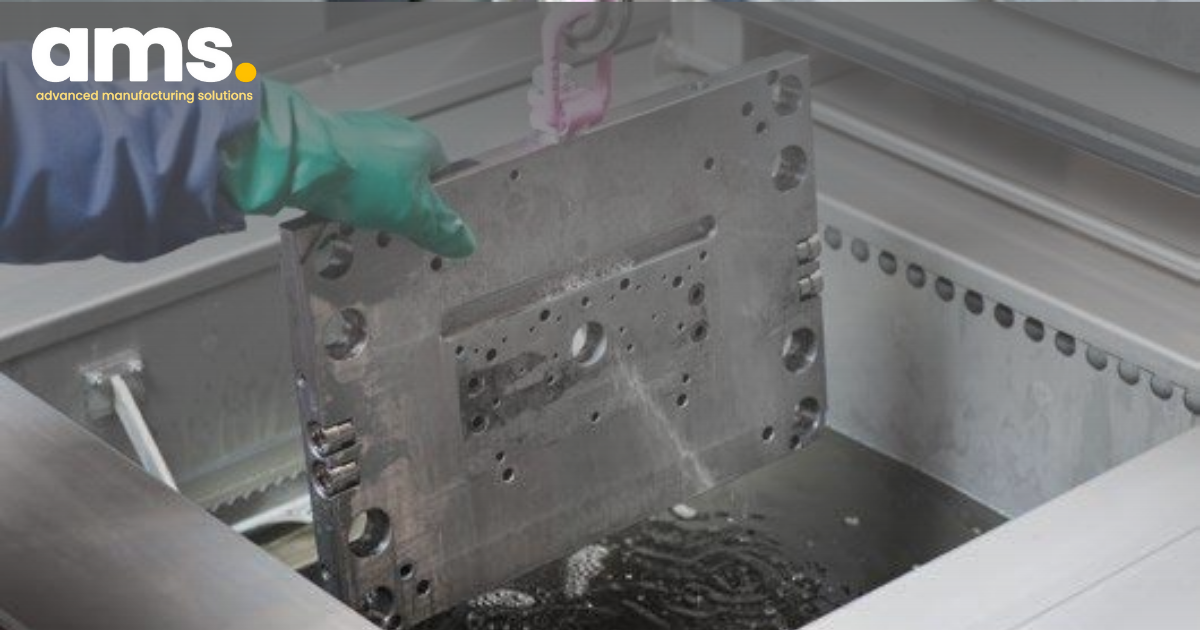
Pro cleaning and maintenance of moulds and dies are crucial for consistent polishing results. Regularly clean with mild detergent, remove dried compound if needed, use rust prevention, store in a clean, dry environment, and inspect periodically to ensure optimal performance and longevity.
1.5 Rushing the polishing process
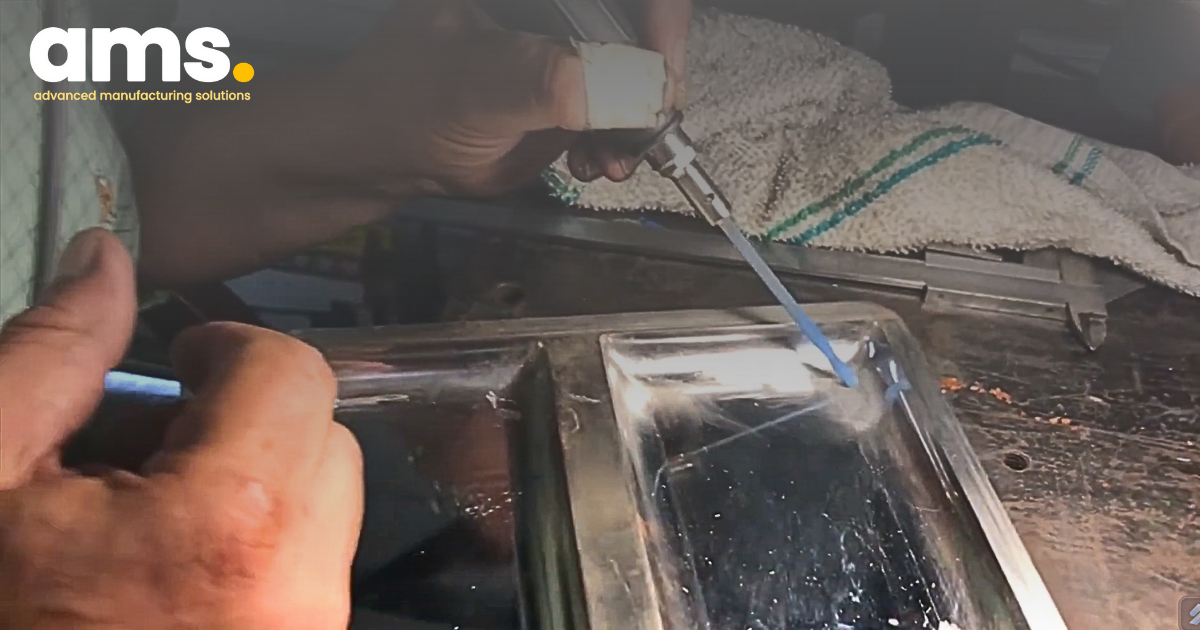
Rushing the polishing process can lead to incomplete polishing, surface damage, compromised quality, and increased errors. Set realistic timelines by planning ahead, allocating sufficient time, prioritizing quality, consulting experts if needed, and practicing patience in order to achieve optimal results.
2. Conclusion
Below, you will find a table highlighting specific mistakes that often occur while polishing molds and dies using diamond compounds, along with solutions to fix these mistakes. However, if you're still unsure about which diamond compound or polishing product to use for your specific problem, feel free to contact AMS. With over 20 years of experience in the mold and die industry, our highly trained professionals are ready to provide you with a free consultation. Trust in our expertise to guide you towards the perfect solution for your polishing needs.
| Problems | Solutions |
|---|---|
| The polished surface has an orange peel effect, pluck out or small pin holes |
Reduce the polishing pressure
Reduce the rotary handpiece speed
Use a softer felt or cloth with the diamond compound
Use more stages to break the surface down check the material hardness is correct.
For final optical mirror polishing use 1-micron diamond compound on a quality tissue by hand
|
| The polished surface appears to have some sub-surface marking |
Demagnetize the part & re-polish
|
| The polished surface needs to be flat |
Use a flat lapping system where possible or use the flat face of a stone to break down the surface
Use the largest lap or stone possible
Work up to an edge not from it, when stoning or polishing
|
| The surface has engraved or other detail which needs to be retained after polishing |
Use a stiff dental type brush charged with diamond compound
|
| To obtain a uniform polish within a bore |
From a ground or fine turned condition try using an internal helilap with 6-micron diamond compound.
|
| To polish a mould runner or similar surface in one operation |
Use a G-Flex wheel of suitable size. These muslin laminated wheels are pre-charged with abrasive.
|
| To remove blemishes from a polished mould surface whilst in the moulding machine which is very hot |
Use a good quality tissue or selvyt cloth charged with either 1 micron or 3 micron
|
| To avoid scratching a surface during polishing |
Keep different grades of abrasive apart
Keep each lapping stick, felt lap etc for use with one grade of abrasive only
Use gentle one direction lapping strokes. When changing grits also change direction by 45° or 90°
Keep the surface well lubricated during stoning or lapping
Properly clean parts between lapping and polishing operations. for detailed parts and mould inserts a ultrasonic cleaner can be used
|
| The surface to be finished is in a deep narrow slot which has been spark eroded |
Use a super stone with an ultrasonic polishing machine
|
Reach out to AMS today for expert advice on selecting the appropriate diamond compound for your mould and die applications.
243/9/10D To Hien Thanh, Ward 13, District 10
Hot line: 028.3868 3738/3903 - Fax: 028.3868 3797

